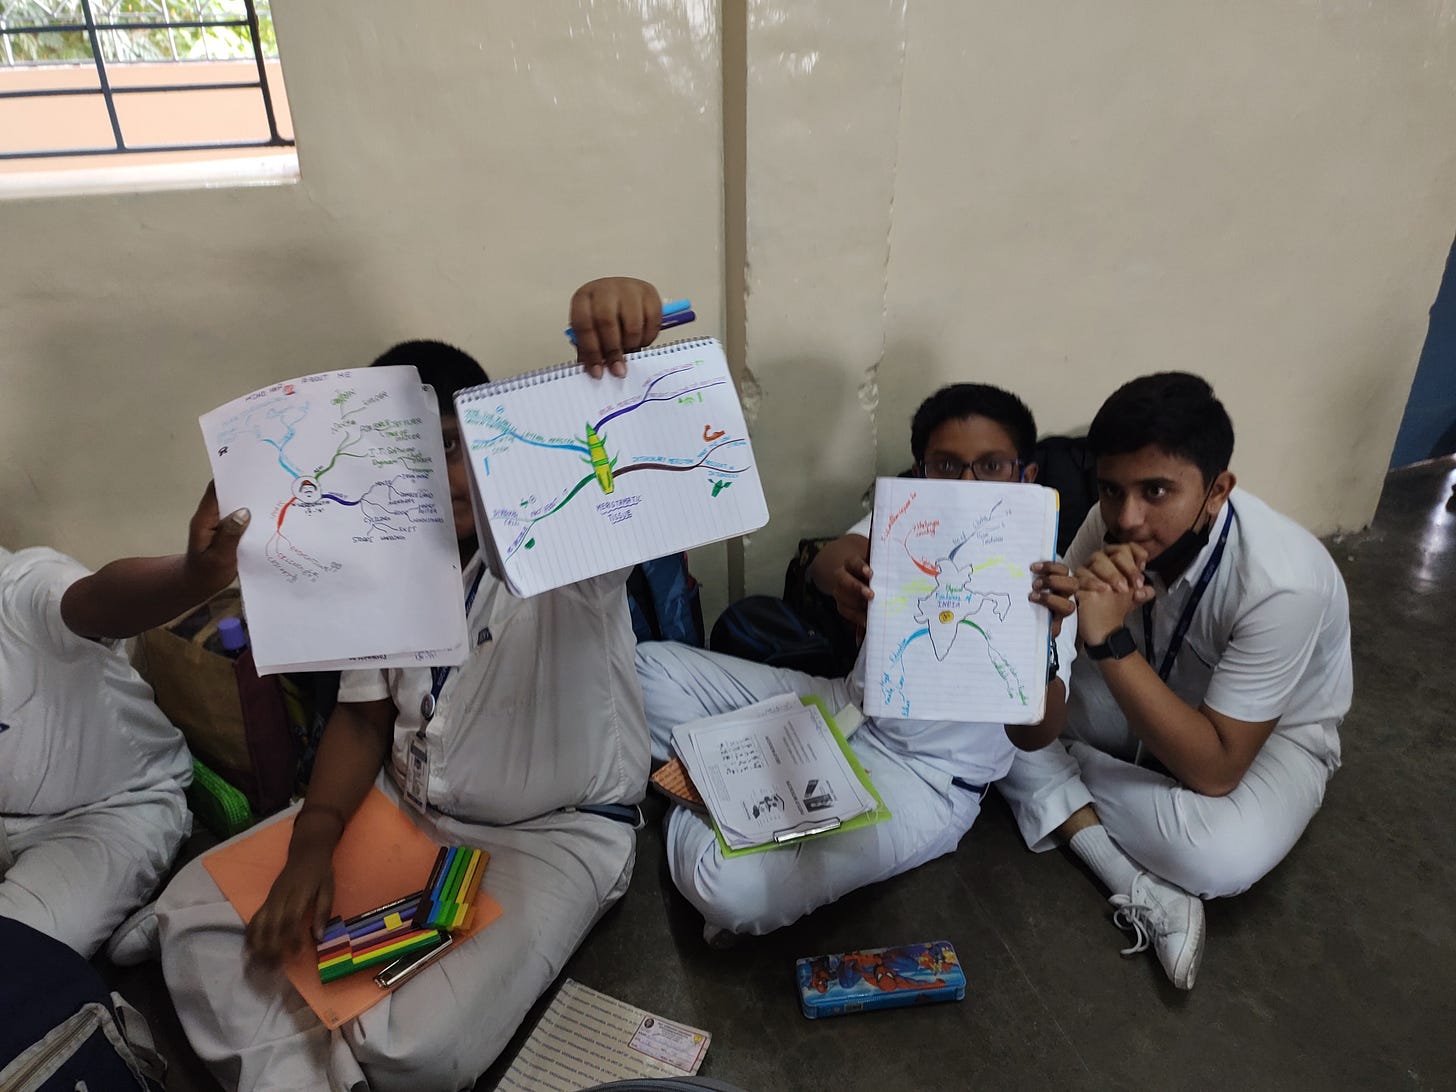
🧠 Mind Mapping: A Step-by-Step Guide to Thinking Visually and Learning Effectively
Whether you're a student overwhelmed by syllabus content, a teacher planning lessons, or a professional brainstorming ideas — there’s one tool that brings clarity, focus, and structure instantly: the
Mind mapping is a simple but powerful way to organize your thoughts visually, boost memory, and unleash creativity.
In this post, let’s walk you through:
✅ What a mind map is
✅ How to create one step-by-step
✅ Its top benefits
✅ Where and how you can apply it
✨ What is a Mind Map?
A Mind Map is a visual diagram used to organize information around a central idea. It mirrors the way our brain thinks — in connections and branches, not lines and paragraphs.
Unlike linear notes, mind maps allow you to:
See the big picture at a glance
Spot relationships between ideas
Recall faster through visual triggers
🎯 Top 5 Benefits of Mind Mapping
🧠 Boosts Memory Retention – Helps recall facts, dates, and definitions easily
📚 Simplifies Complex Topics – Great for summarizing big chapters or planning essays
🎨 Unleashes Creativity – Frees your brain from boring note-taking
⏳ Saves Time – Reduces study time by helping you revise visually
🎯 Increases Focus – You understand the “core” idea and its sub-parts clearly
✍️ How to Create a Mind Map (Step-by-Step)
Here’s a simple visual and verbal walkthrough of drawing a mind map. You can use it on paper or digitally (apps like XMind, MindNode, or Canva).
🪄 Step 1: Start With a Central Idea
At the center of your page, draw a circle and write your main topic inside.
📌 Example: “Water Cycle”
🖼️ Image Prompt: A circle in the center with the words “Water Cycle” written and a water droplet doodle inside.
🌿 Step 2: Draw Main Branches
From the central circle, draw thick lines outward. These represent main categories or headings related to your topic.
📌 Example: Evaporation, Condensation, Precipitation, Collection
🖼️ Image Prompt: Four colored branches extending out from “Water Cycle,” each labeled with one subtopic.
🌿 Step 3: Add Sub-branches
From each main branch, draw thinner lines with details, examples, or keywords.
📌 Under Evaporation, write: sun heats water, becomes vapor
📌 Under Precipitation, write: rain, snow, hail
🖼️ Image Prompt: Sub-branches with tiny icons — like a sun, raindrop, cloud — next to keywords.
🎨 Step 4: Use Colors, Icons & Images
Use different colors for each branch, and draw simple visuals (stick figures, symbols, emojis) to make it brain-friendly and engaging.
🖼️ Image Prompt: A colorful mind map with icons for sun ☀️, cloud ☁️, rain 🌧️, arrow flows.
🧩 Step 5: Keep It Simple, Not Crowded
Use single keywords, not sentences. Let the map be open and flowing, not cluttered.
📌 Tip: If needed, create mini mind maps for subtopics on separate pages.
📚 Real-World Uses of Mind Mapping
🧑🎓 Students – Use it to revise chapters, write essays, or understand a concept visually.
👩🏫 Teachers – Use it to plan lessons, simplify delivery, or assign student projects.
👩💼 Professionals – Use it for brainstorming, presentations, project planning, and note-taking in meetings.
👨👩👧 Parents – Help your child build creative thinking, confidence, and study discipline.
Mind mapping is like giving your thoughts a GPS.
Once you try it, you’ll never go back to boring paragraphs and endless bullet points again.
Start small. Start with a chapter you fear.
And remember — it’s not about drawing it perfectly.
It’s about thinking clearly.
💬 Have you used mind maps before?
📥 Reply or comment with your favorite topic to try a mind map — and I’ll share a visual example with you!
To Learn about the Smart Study Techniques and to be a Confident Learner.. Click the link to experience magic in Studing smarter
#MindMapping #StudySmarter #VisualLearning #MemoryTechniques #CreativeThinking #EducationTools #StudentSuccess #TeachingTips


